※ I will explain on the premise that the personal computer is Debian Linux (Ubuntu, Linux Mint, ...). It is possible to follow the steps below on Windows, but it is complicated to explain, so I will skip it.
※ From here on, it is helpful to look at wiki.openstreetmap.org/wiki/Taginfo/Installation.
Taginfo/Installation - OpenStreetMap Wiki
Most people will not have to run Taginfo themselves. If you just need access to the Taginfo data you can download it from https://taginfo.openstreetmap.org/download or use the API. But if you want to run Taginfo yourself, for instance to run it with a diff
wiki.openstreetmap.org
1. Import the project file from Github
Taginfo executable files are available on github.com/taginfo/taginfo, the files for building the database for Taginfo productions are available on github.com/taginfo/taginfo-tools. Let's clone the files from Github to the Raspberry Pi and to the personal computer respectively.

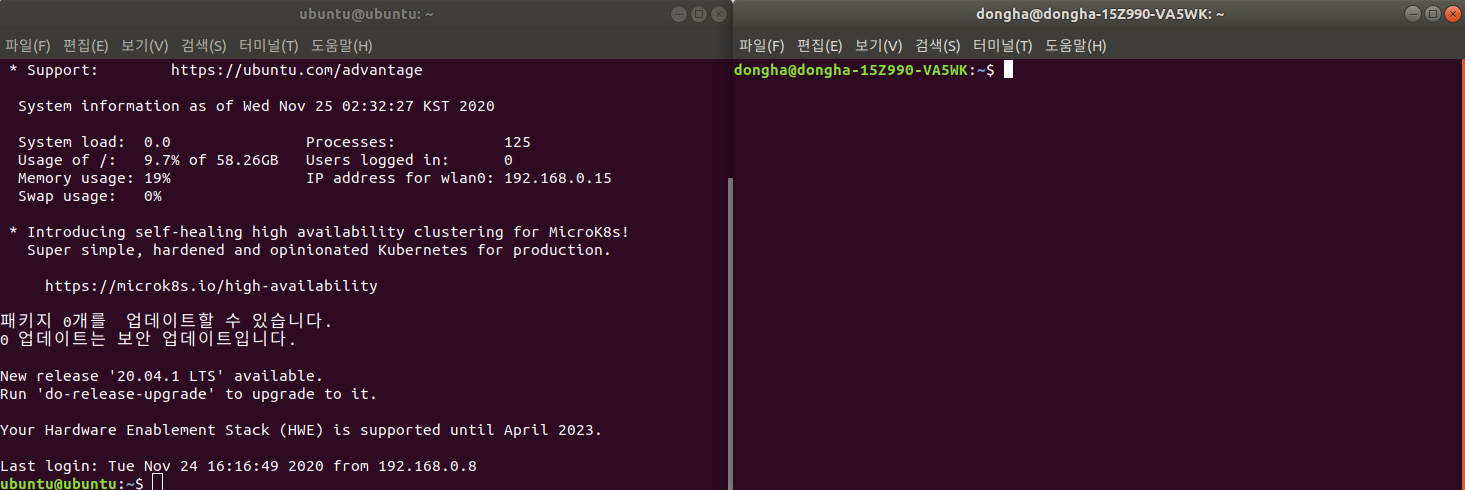
First, connect to the Raspberry Pi with ssh, and turn on a separate terminal on your personal computer.
Then I will create a folder to contain the source files and download the files into it. Enter the following command:
(on the Raspberry Pi)
cd /home/ubuntu
mkdir osm && cd osm
git clone https://github.com/taginfo/taginfo.git

========== Comments ==========
1. Move to home directory in the ubuntu account.
2. Make osm directory at that place, and move into it.
3. Clone https://github.com/taginfo/taginfo.git project.
(on your personal computer)
cd ~
mkdir osm && cd osm
git clone https://github.com/taginfo/taginfo.git
git clone https://github.com/taginfo/taginfo-tools.git
========== Comments ==========
1. Move to home directory in the your account.
2. Make osm directory at that place, and move into it.
3. Clone https://github.com/taginfo/taginfo.git project.
4. CLone https://github.com/taginfo/taginfo-tools.git project.If the git command doesn't work, enter 'sudo apt install git' to install git.
Do not clone the taginfo-tools on the Raspberry Pi. Database creation uses enormous amounts of RAM (32GB for South Korea), so most Raspberry Pis can't run it all the way.
For the convenience of later, I will create a directory for the database and a directory for the compressed database file.
(Both the RP and the PC)
mkdir data download

========== Comments ==========
1. Make data directory and download directory.Type 'ls', and you should see 4 blue letters as above.
2. Compilation of programs necessary for database production
The 'code' to create the database is in taginfo-tools, but the 'program' is not. So you have to compile and write it yourself. There are many reasons for leaving the user to compile, but I want to explain it to
"Programs compiled on a personal computer (x86_64) cannot run on a Raspberry Pi (ARM64)."
Of course, we're not building a database on the Raspberry Pi, but so to speak.
Before compiling, you need to install the dependencies. Some of the dependencies can be installed with apt, while others need to be downloaded from a separate PPA. Here we will use the PPA called Debian Backports (deb.debian.org/debian).
Before typing the following command, make sure you are located in ~/osm.
(On the personal computer)
echo "deb http://deb.debian.org/debian buster-backports main" >> /etc/apt/sources.list.d/sources.list
sudo apt-key adv --keyserver keyserver.ubuntu.com --recv-keys 04EE7237B7D453EC
sudo apt-key adv --keyserver keyserver.ubuntu.com --recv-keys 648ACFD622F3D138
sudo apt update
sudo apt install cmake libbz2-dev libexpat1-dev libgd-dev libicu-dev libsqlite3-dev make zlib1g-dev
sudo apt-get -t buster-backports install libosmium2-dev libprotozero-dev

cd taginfo-tools
git submodule update --init
mkdir build && cd build
cmake ..
cd .. && make -j4

=========== Comments ===========
1. Add "deb http://deb.debian.org/debian buster-backports main" to the end of /etc/apt/sources.list.d/에 위치한
   sources.list text file.
2. Add the public key '04EE7237B7D453EC' to your comtuper via the key server keyserver.ubuntu.com.
3. Add the public key '648ACFD622F3D138' to your comtuper via the key server keyserver.ubuntu.com.
4. Update the list of available packgies.
5. Install cmake, libbz2-dev, libexpat1-dev, libgd-dev, libicu-dev,
   libsqlite3-dev, make, zlib1g-dev package.
6. Install libosmium2-dev, libprotozero-dev package from buster-backports.

7. Move to taginfo-tools directory.
7. Get the abseil module for taginfo-tools.
8. Make build directory and move into it.
9. Convert CmakeLists.txt, at the parent directory(at here, taginfo-tools/), to Makefile.
10. Move the parent directory, and compile the programs using the Makefile.
The compilation time depends on your computer's specifications, but takes about 2 minutes. In 'make -j4', 4 means to run 4 threads simultaneously. If your computer's CPU has 8 or 16 threads, you can use -j8 or -j16 instead of -j4.
3. Setting for database creation and taginfo operation
The original OpenStreetMap is required to create the database. This is called 'Planet Data', it can be downloaded from download.geofabrik.de/
Geofabrik Download Server
download.geofabrik.de
Enter the desired country/continent and download *-latest.osm.pbf file. Put the downloaded file in the ~/osm/data directory you created earlier.
Now let's change the taginfo setting. Enter the following command:
(both the RP and the PC)
cd ~/osm/
cp taginfo/taginfo-config-example.json taginfo-config.json
nano taginfo-config.json

=========== 코드 설명 ==========
1. Move to ~/osm diretory.
2. Copy taginfo-cinfig-example.json in taginfo/ to ./taginfo-config.json.
3. Open the taginfo-config.json text file using nano editor.In advance, find the image to be used as the background map of the Taginfo distribution map. Then find "geodistribution": { in the file and change the values in 'geodistribution'.
"left": (left longitude)
"bottom": (lower latitude)
"right": (right longitude)
"top": (upper latitude)
"width" X "scale_image" = (width of the image)
"height" X "scale_image" = (height of the image)
"background_image": (path of background map)
in "paths":
"data_dir": "/home/(your account)/osm/data"
"download_dir": "/home/(yout account)/osm/download"
You don't need to change the rest of the options.
In the next post, I'll cover how to build the database and to run the Taginfo server.
'오픈스트리트맵(OpenStreetMap) > 오픈스트리트맵' 카테고리의 다른 글
| Make my own Taginfo instance - (4) Running a server with Ruby on Rails (0) | 2020.11.26 |
|---|---|
| 나만의 Taginfo 구축하기 - (4) Ruby on Rails로 서버 구동하기 (0) | 2020.11.26 |
| 나만의 Taginfo 구축하기 - (3) Github에서 파일 가져오기 및 설정 (0) | 2020.11.26 |
| Make my own Taginfo instance - (2) Connecting Wi-Fi, Updating the package and Connecting ssh, sftp (0) | 2020.11.24 |
| 나만의 Taginfo 구축하기 - (2) Wi-Fi 연결, 패키지 업데이트, ssh, sftp 연결 (1) | 2020.11.24 |