고급협동조합의 OSM
article thumbnail
오픈스트리트맵의 태그를 나열한 목록을 웹 페이지에 삽입하기

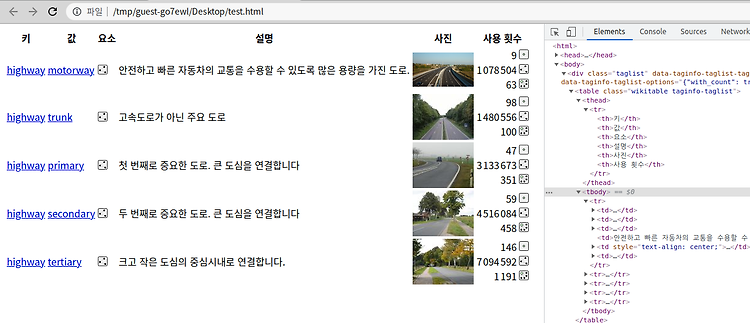
이 글은 https://wiki.openstreetmap.org/wiki/Ko:Taginfo/Taglists를 참고해서 작성했습니다. 먼저 다음과 같이 jQuery와 taglists.js를 웹 페이지에 포함(include)하세요. ※ jquery를 포함할 때는 위 코드를 그대로 사용해도 좋지만, jquery 공식 홈페이지에서 최신 버전을 확인한 후 해당 버전에 알맞는 URL을 포함하는 것이 좋습니다. 그러고 나서 표를 삽입할 부분에 다음과 같이 div 요소를 추가하세요. 태그를 나열할 때는 키1=값1a,값1b,...,키2=값2a,값2b,...와 같은 방법을 사용합니다. 여기서는 highway=motorway highway=trunk highway=primary highway=secondary highwa..
article thumbnail
Make my own Taginfo instance - (4) Running a server with Ruby on Rails

In this article, I will explain how to run the server for the test. 1. Install dependencies (on the Raspberry Pi) sudo apt-get install sqlite3 libsqlite3-dev ruby-dev ruby curl libicu-dev sudo apt-get install zlib1g-dev libprotobuf-dev libexpat1-dev libgd2-xpm-dev sudo gem install json sqlite3 sinatra sinatra-r18n rack-contrib thin ========== Comments ========== 1. Install the packages. 2. Insta..

article thumbnail
나만의 Taginfo 구축하기 - (4) Ruby on Rails로 서버 구동하기

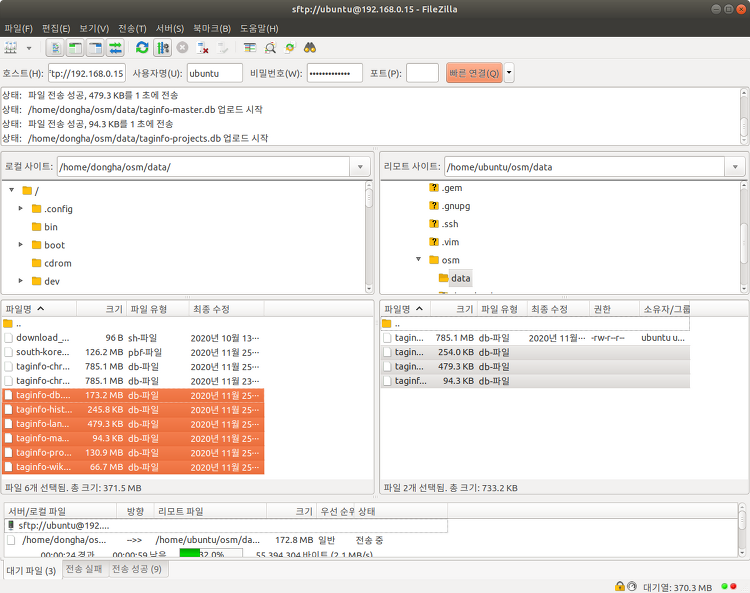
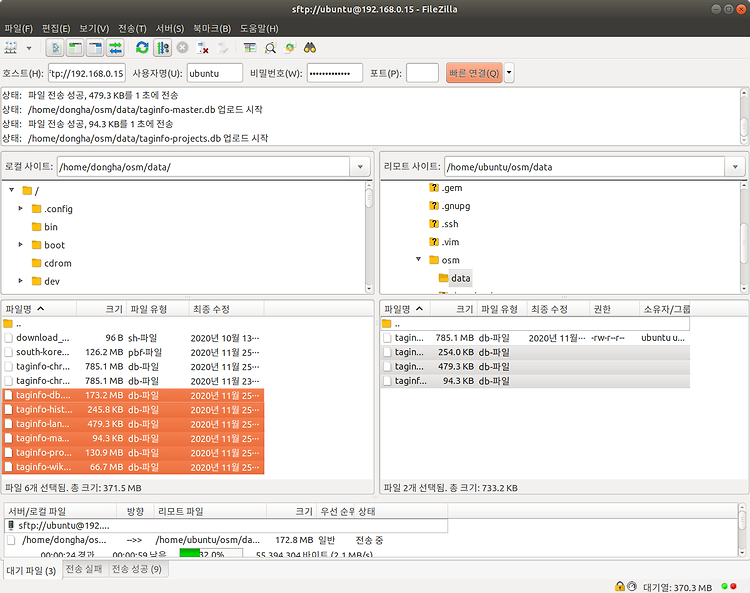
이번 글에서는 테스트용 서버를 구동하는 방법을 설명하도록 하겠습니다. 1. 의존성 설치 (라즈베리 파이에서) sudo apt-get install sqlite3 libsqlite3-dev ruby-dev ruby curl libicu-dev sudo apt-get install zlib1g-dev libprotobuf-dev libexpat1-dev libgd2-xpm-dev sudo gem install json sqlite3 sinatra sinatra-r18n rack-contrib thin ========== 코드 설명 ========== 1. 패키지를 설치한다. 2. 패키지를 설치한다. 3. gem을 이용해 패키지를 설치한다. 2. 데이터베이스 생성 데이터베이스를 만들기 전에, 편의를 위해 DB..

article thumbnail
Make my own Taginfo instance - (3) Clone the project from Github

※ I will explain on the premise that the personal computer is Debian Linux (Ubuntu, Linux Mint, ...). It is possible to follow the steps below on Windows, but it is complicated to explain, so I will skip it. ※ From here on, it is helpful to look at wiki.openstreetmap.org/wiki/Taginfo/Installation. Taginfo/Installation - OpenStreetMap Wiki Most people will not have to run Taginfo themselves. If y..

article thumbnail
나만의 Taginfo 구축하기 - (3) Github에서 파일 가져오기 및 설정

※ 개인 컴퓨터는 데비안 리눅스(우분투, 리눅스 민트, ...)라는 것을 전제하고 설명하겠습니다. 이론적으로 윈도우에서도 아래 작업을 따라하는 것이 가능은 하나, 설명하기 복잡하므로 넘어가겠습니다. ※ 여기부터는 wiki.openstreetmap.org/wiki/Taginfo/Installation와 같이 보시면 도움이 됩니다. Taginfo/Installation - OpenStreetMap Wiki Most people will not have to run Taginfo themselves. If you just need access to the Taginfo data you can download it from https://taginfo.openstreetmap.org/download or use..

article thumbnail
Make my own Taginfo instance - (2) Connecting Wi-Fi, Updating the package and Connecting ssh, sftp

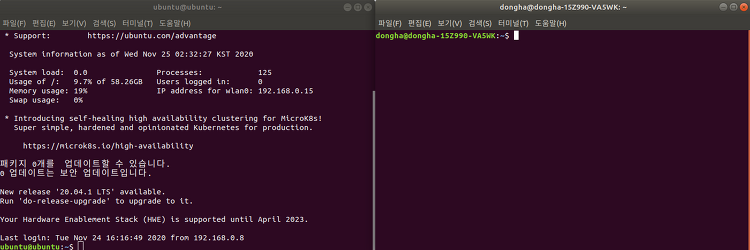
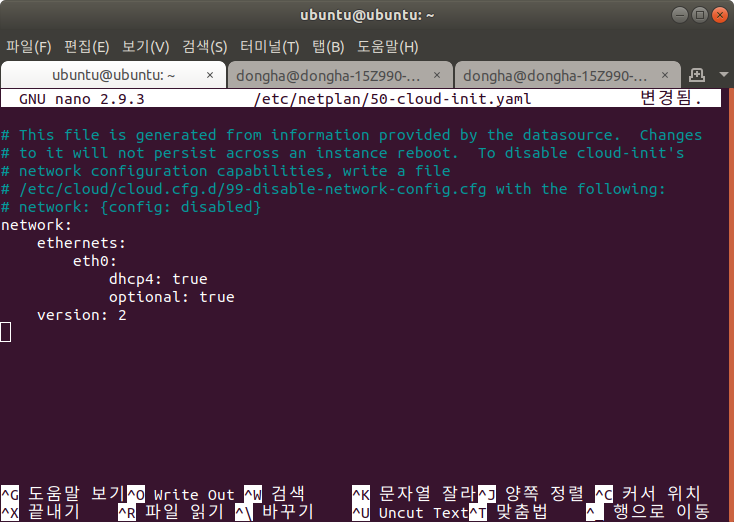
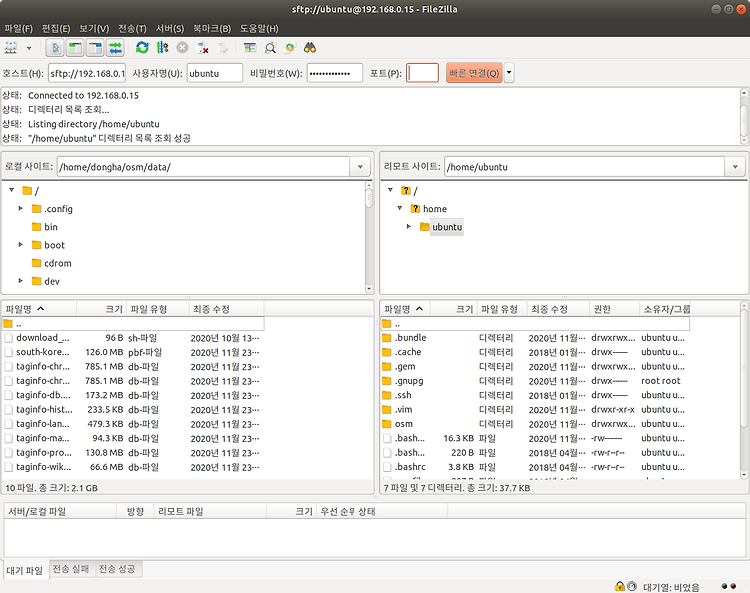
1. Connect Wi-Fi ※ If you have a LAN connection to the raspberry pie, you can skip this part. An Internet connection is essential for updating packages, ssh, and sftp communications. Please enter the following command: sudo nano /etc/netplan/50-cloud-init.yaml ========= Comment ========== 1. Open 50-cloud-init.yaml test file at /etc/netplan/ via 'nano' editor. At first, the file will only have t..

article thumbnail
나만의 Taginfo 구축하기 - (2) Wi-Fi 연결, 패키지 업데이트, ssh, sftp 연결

1. Wi-Fi 연결하기 ※ 라즈베리 파이에 랜선을 연결했다면 이 부분은 건너뛰어도 됩니다. 패키지를 업데이트하고, ssh, sftp 통신을 하려면 인터넷 연결이 필수적입니다. 다음 명령어를 입력하세요. sudo nano /etc/netplan/50-cloud-init.yaml ========= 코드 설명 ========== 1. /etc/netplan/에 위치한 50-cloud-init.yaml 텍스트 파일을 nano 편집기로 연다. 처음에는 파일에 위와 같은 내용밖에 없을 것입니다. ethernets와 version 사이에 아래 내용을 추가해 주세요. wifis: wlan0: dhcp4: true optional: true access-points: "(Wi-Fi 이름)": password: "(비밀..

article thumbnail
Make my own Taginfo instance - (1) Installing Ubuntu on the Raspberry Pi 4

※ If you have a device on which you installed Ubuntu Server 18.04, you don't need to read this article. I was using the Cafe24 server, but after I've broken the server because of the deletion of /bin directory incidentally, I decided to make my own server using the Raspberry Pi. 1. Unboxing the Raspberry Pi The Raspberry Pi has 2GB RAM that is the cheapest among RP 4. Unless running a desktop en..