In this article, I will explain how to run the server for the test.
1. Install dependencies
(on the Raspberry Pi)
sudo apt-get install sqlite3 libsqlite3-dev ruby-dev ruby curl libicu-dev
sudo apt-get install zlib1g-dev libprotobuf-dev libexpat1-dev libgd2-xpm-dev
sudo gem install json sqlite3 sinatra sinatra-r18n rack-contrib thin

========== Comments ==========
1. Install the packages.
2. Install the packages.
3. Install the packages via Gem.
2. Create the databases
Before creating the database, I will implement the operation of moving the DB file to sh file for convenience.
(on the Raspberry Pi)
cd ~/osm/taginfo/sources/
nano move_db.sh

========== Comments ===========
1. Move to ~/osm/taginfo/sources/.
2. Make and open move_db.sh text file.
Then type the following in the file.
mv $1/taginfo-*.db $1/*/taginfo-*.db ../../data/
cp ../../data/taginfo-history.db $1/
mv $1/download/*.bz2 ../../download/
cp taginfo-chronology.db $1/chronology/
(at the Raspberry Pi)
chmod 755 move_db.sh
mkdir -r files/chronology
wget https://taginfo.openstreetmap.org/download/taginfo-chronology.db.bz2
bunzip2 taginfo-chronology.db.bz2
rm taginfo-chronology.db.bz2
./move_db.sh files/

./update_all.sh files/
./update_all.sh files/
./move_db.sh files/

========== Comments ==========
1. Let move_db_sh be able to executed by everyone.
2. Make files directory, and chronology directory into it.
3. Download taginfo-chronology.db.bz2 file from the Taginfo website.
4. Unzip the downloaded file.
5. remove the file.
6, 9. Execute move_db.sh file with 'files/' parameter.
7 ~ 8. Execute update_all.sh file with 'files/' parameter.
You should execute ./updage_all.sh twice, and ./move_db.sh once for each daily database update.

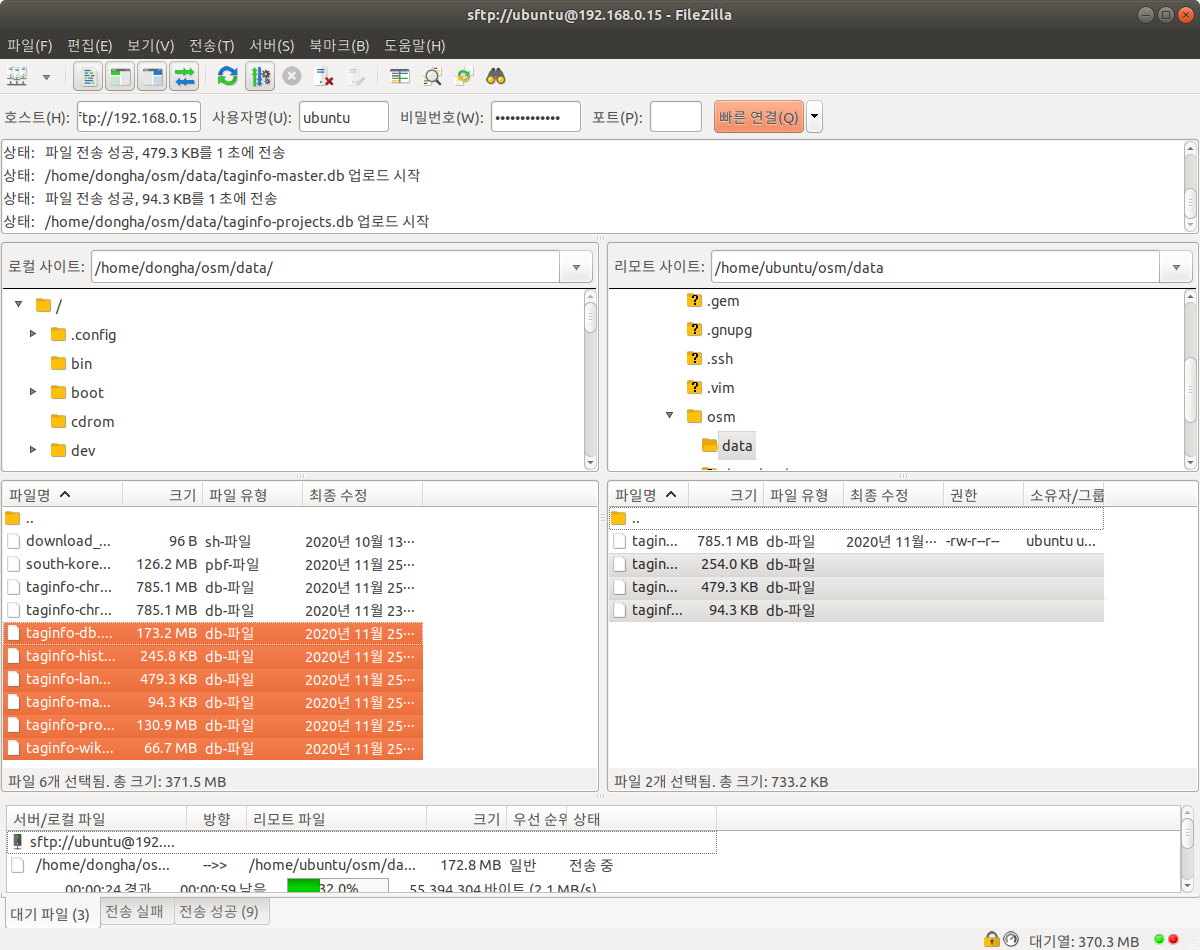
Then move the databases from your PC to the Raspberry Pi.
3. Run the server
(on the RP)
cd ../web
thin start

========== Comments ==========
1. Move to ../web.
2. Run the server through thin.
If the server is running normally, enter (Raspberry Pi's ip address):3000 into a web browser (ex. 192.168.0.15:3000). If the taginfo site comes up, it's a success!
It is possible to build a public server by reading this article, but it is recommended to use Nginx additionally for it. Open the server with thin (port 3000), and use Nginx to redirect port 80 to port 3000.
'오픈스트리트맵(OpenStreetMap) > 오픈스트리트맵' 카테고리의 다른 글
| 채팅방에 자신의 기여 내역을 올리는 방법 (0) | 2021.10.21 |
|---|---|
| 인스타그램 지도로 보는 오픈스트리트맵의 역할과 매핑의 필요성 (0) | 2021.08.15 |
| 나만의 Taginfo 구축하기 - (4) Ruby on Rails로 서버 구동하기 (0) | 2020.11.26 |
| Make my own Taginfo instance - (3) Clone the project from Github (0) | 2020.11.26 |
| 나만의 Taginfo 구축하기 - (3) Github에서 파일 가져오기 및 설정 (0) | 2020.11.26 |